![[PukiWiki]](./skin/BAKIN_logo_92.png "[PukiWiki]")
This section describes each shader.
Shaders should be changed according to what you want to achieve, so refer to this explanation and sample data to specify the shader you are looking for.
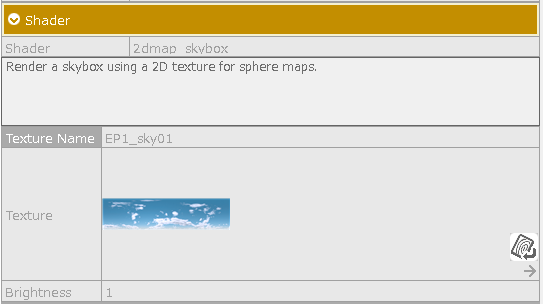
Specify a background material with a 2D texture.
The material with this shader selected will be available for selection in "Map Settings > Rendering > Background Material".
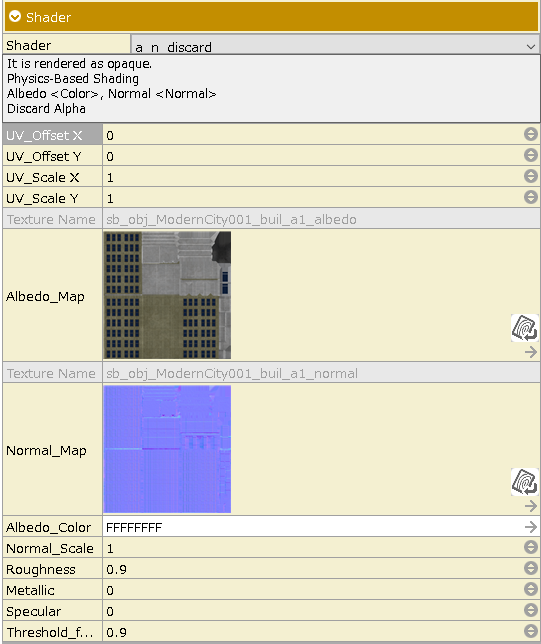
This shader uses physics-based shading with an albedo map and a normal map available for setting.
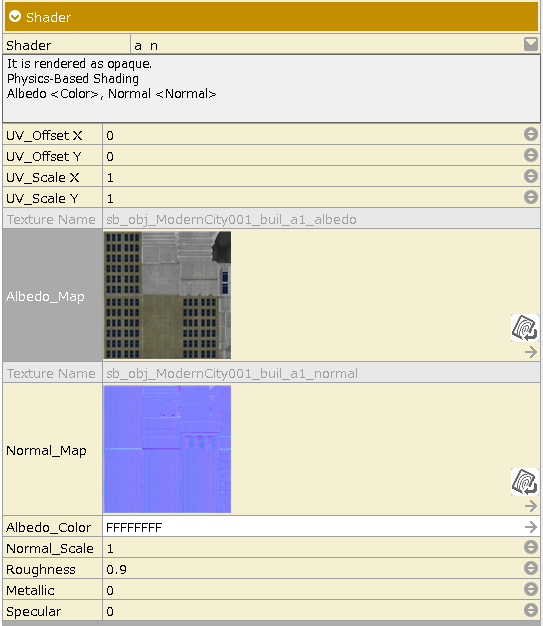
This shader uses physics-based shading with an albedo map and a normal map available for setting.
It is also possible to use the alpha channel of an albedo map to discard alpha.
This shader uses physics-based shading with an albedo map, a normal map and a mask map available for setting.
This is the recommended shader when using physics-based shading in Bakin.
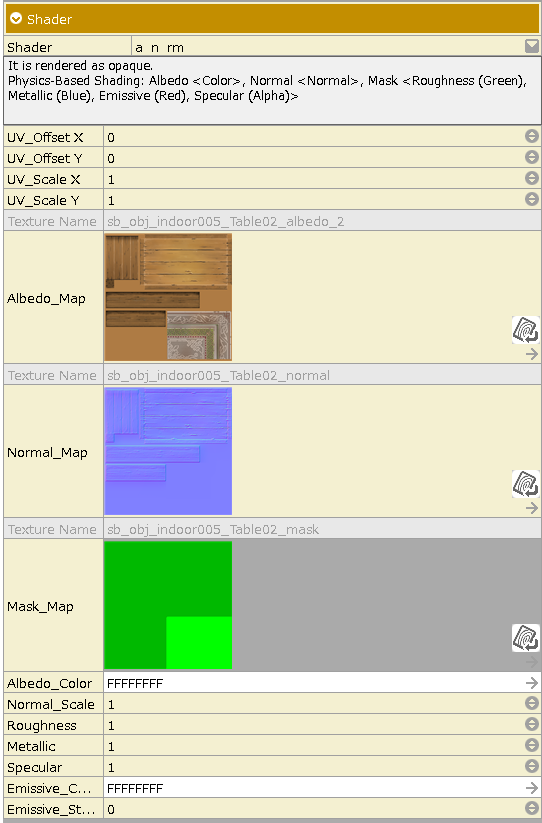
This shader uses physics-based shading with an albedo map, a normal map and a mask map available for setting.
It is also possible to use the alpha channel of an albedo map to discard alpha.
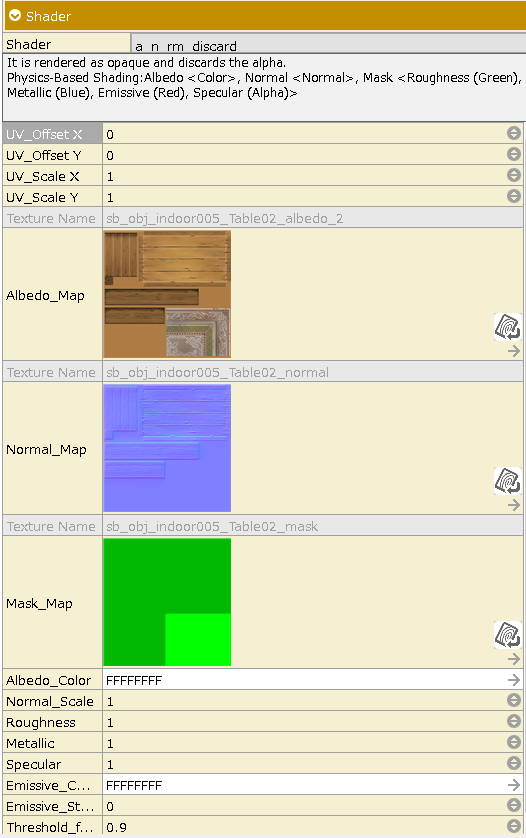
This shader uses physics-based shading with an albedo map, a normal map and a mask map available for setting.
It is also possible to use the alpha channel of an albedo map to discard alpha.
In addition, the use of SSS (Subsurface Scattering) mask map allows for the rendering of light transparency.
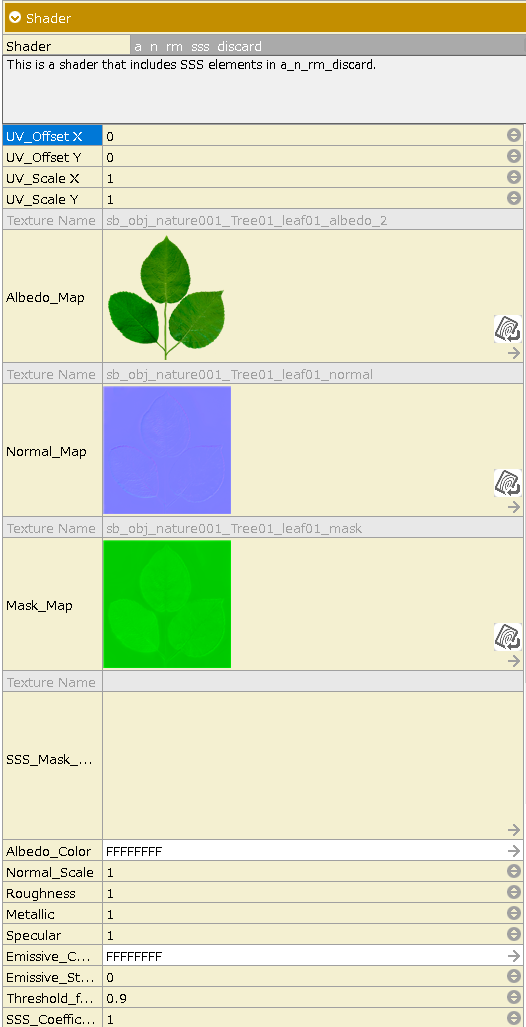
This shader uses physics-based shading with an albedo map, a normal map and a mask map available for setting.
It is also possible to use the alpha channel of an albedo map to discard alpha.
In addition, you can specify swaying effects in the wind.
When using with grass growing on the ground, turn on "Fix Y=0".
See Creation Tips for more information.
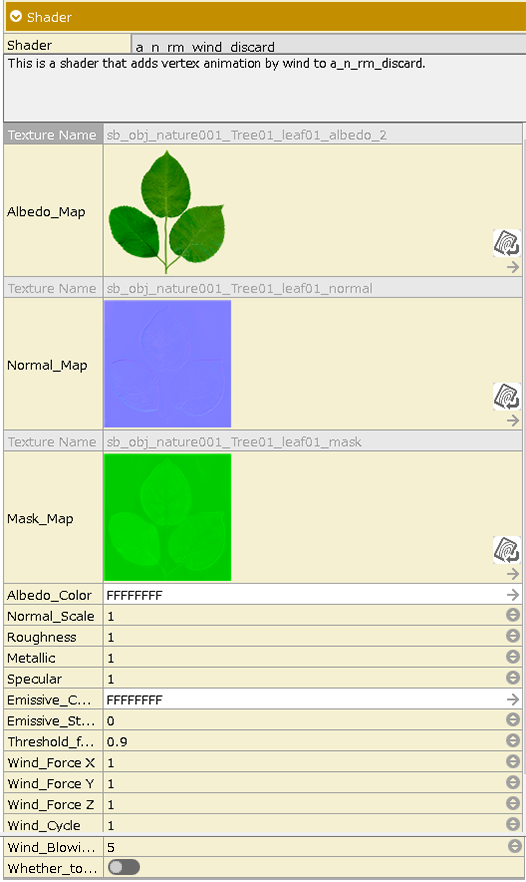
This shader uses physics-based shading with an albedo map and a normal map available for setting.
It is also possible to use the alpha channel of an albedo map to discard alpha.
In addition, you can specify swaying effects in the wind.
When using with grass growing on the ground, turn on "Fix Y=0".
See Creation Tips for more information.
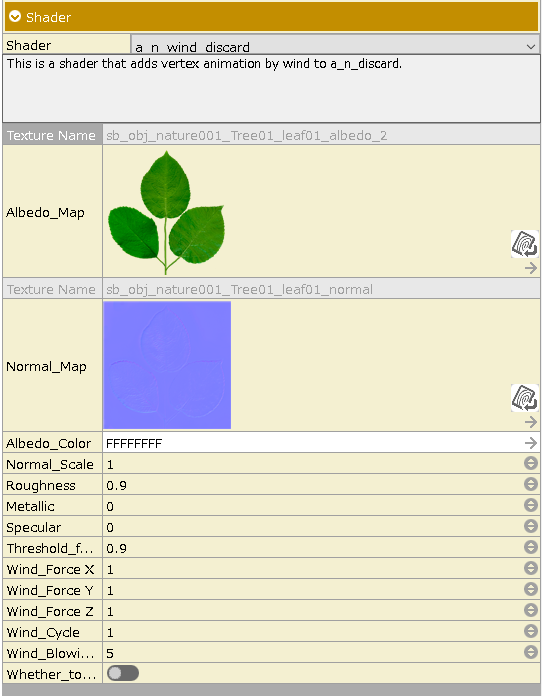
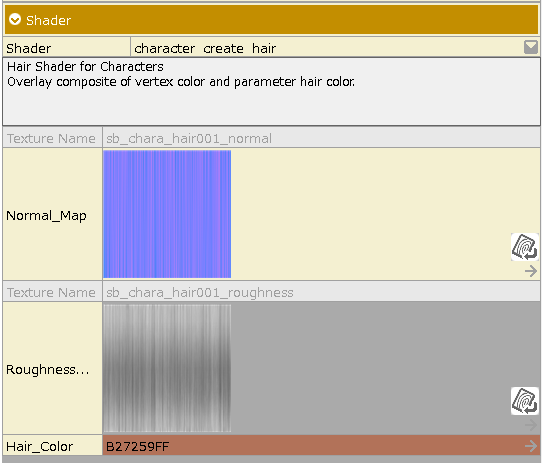
This is a special shader, a hair shader for characters, used in the Bakin sample character models.
Overlay composite of vertex color and parameter hair color.
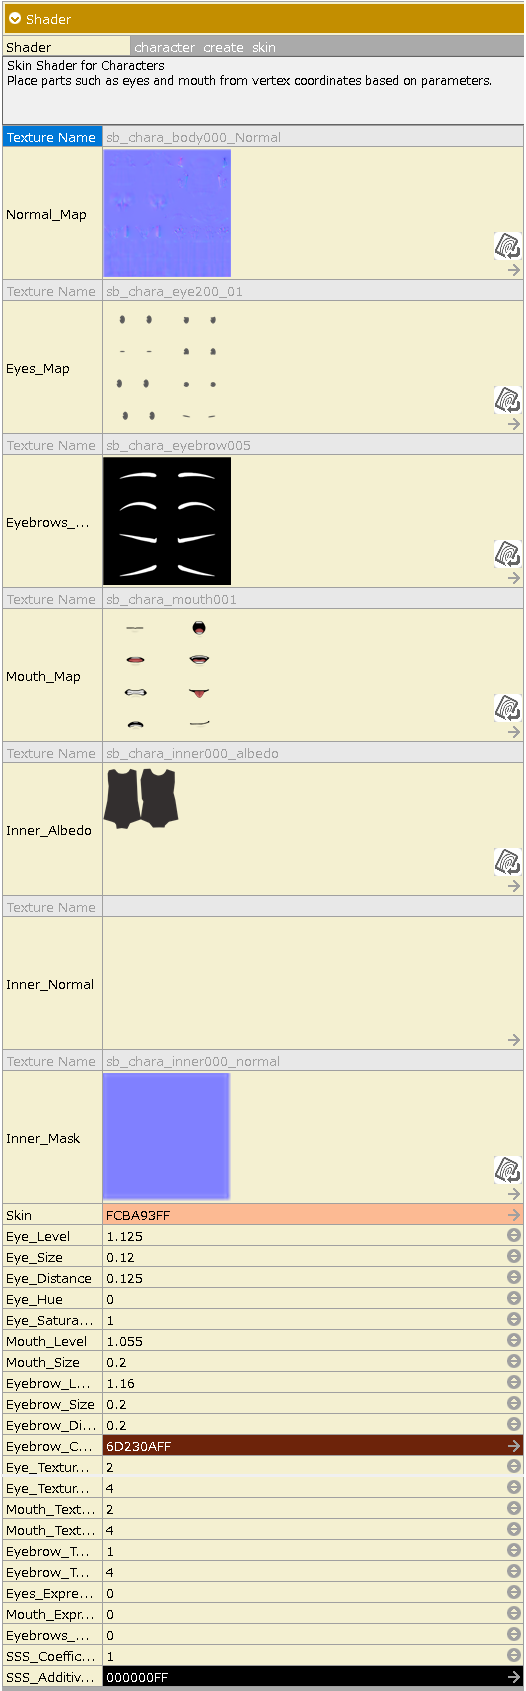
This is a special shader, a skin shader for characters, used in the Bakin sample character models.
Parts such as eyes and mouth are placed from the vertex coordinates based on the parameters.
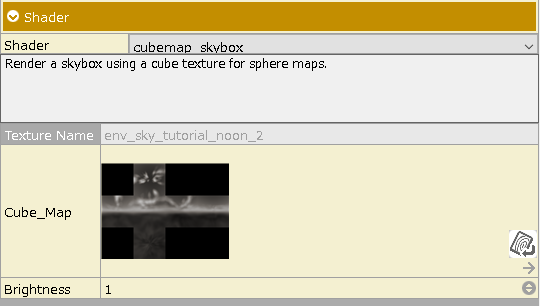
Specify a background material with a texture in .hdr format.
The material with this shader selected will be available for selection in "Map Settings > Rendering > Background Material".
Special shader allows 2D images to be projected onto terrain and 3D models.
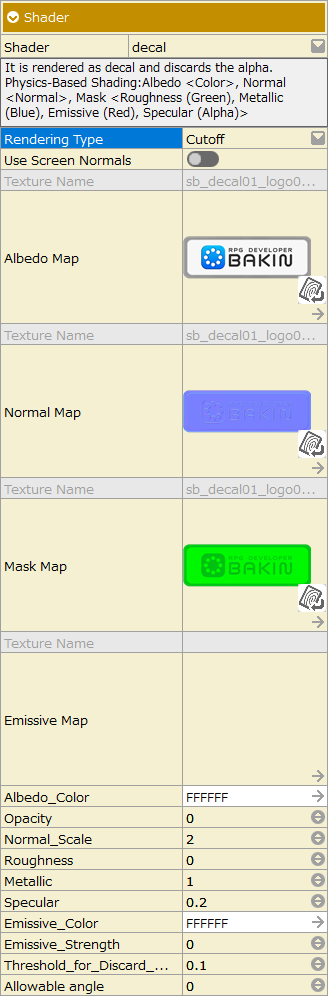

| 1 | Only surfaces with exactly the same orientation will be displayed. In some cases, there will be areas that cannot be projected. |
| 0 | If it is not facing the back, it will be displayed. |
| -1 | It is unconditionally written on all surfaces. Textures can be projected even when stretched. |
It renders a glass-like effect.
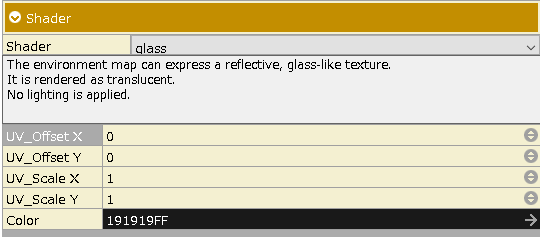
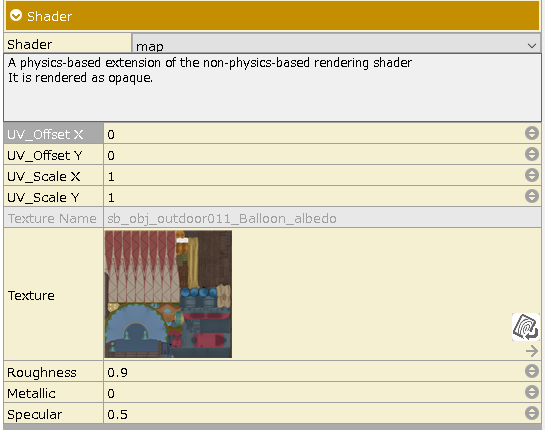
It is a physics-based extension of a shader from a non-physical based rendering.
Color textures can be specified.
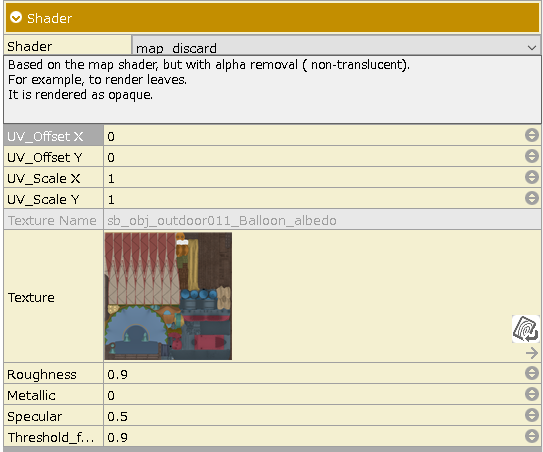
Based on the map shader, discarding the alpha (non-transparent).
It can be used for leaves and etc.
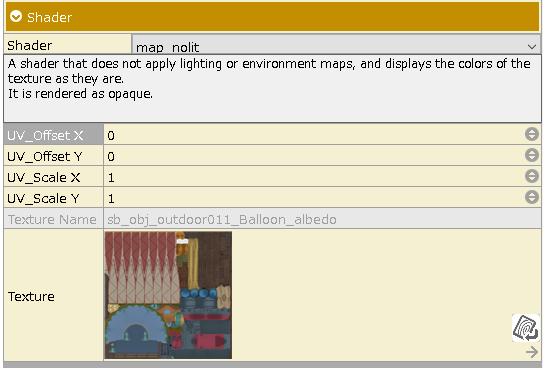
This is a shader that does not perform lighting and does not apply an environment map, but displays the color of the texture as it is.
Rendered as opaque.
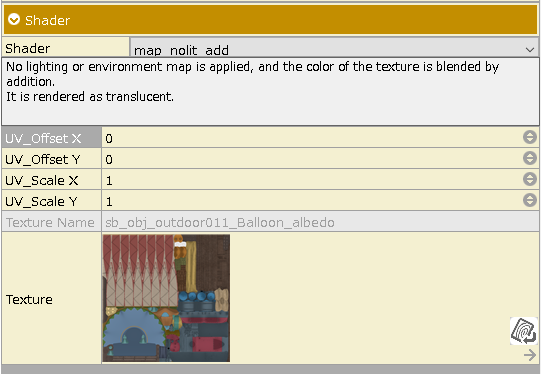
No lighting or environment map is applied, and the texture is blended with the color of the texture as it is by addition.
Rendered as translucent.
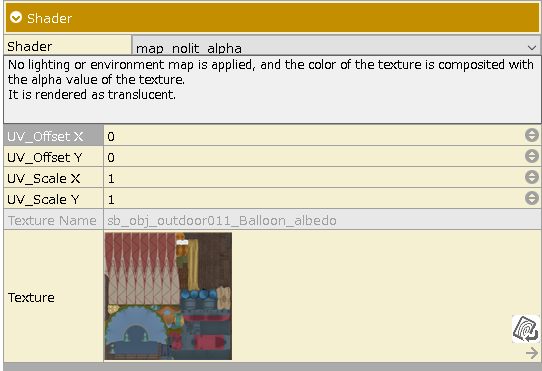
No lighting or environment map is applied, and the texture is composited with the texture's alpha value, using the texture's color as it is.
Rendered as translucent.
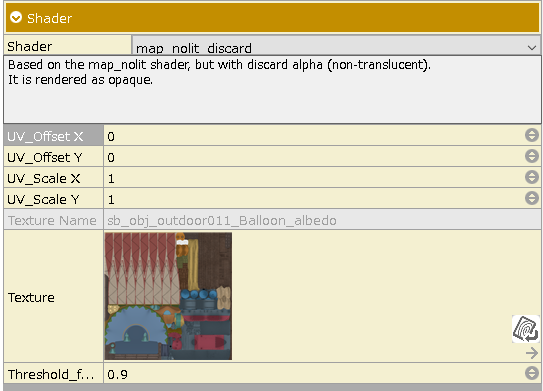
Based on the map_nolit shader, discarding the alpha (non-transparent).
Rendered as opaque.
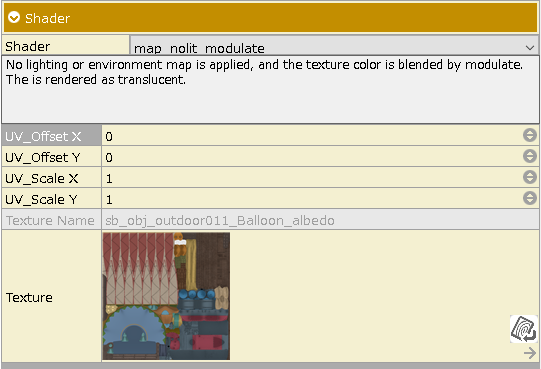
No lighting or environment map is applied, and the texture is blended by modulate, using the color of the texture as it is.
Rendered as translucent.
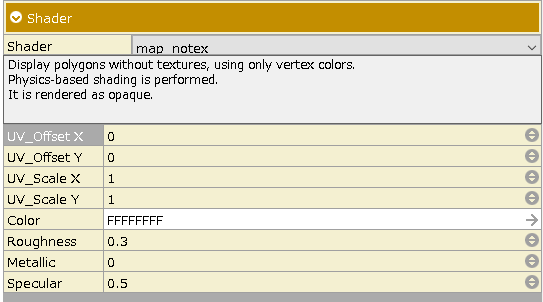
Displays polygons using only vertex colors, without textures.
Performs physics-based shading.
Rendered as opaque.
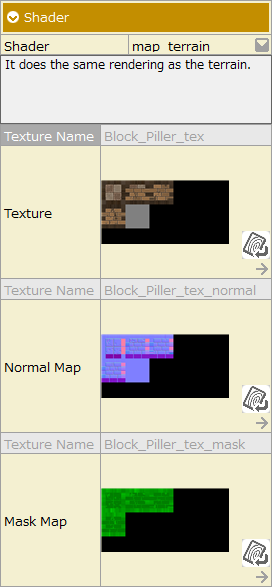
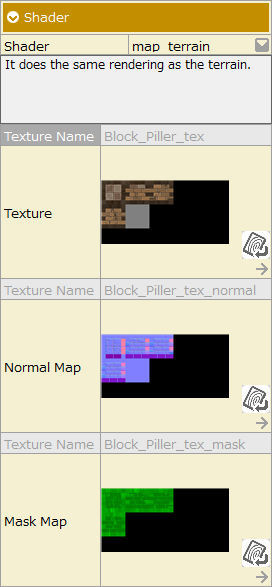
It is rendered in the same way as the terrain.
When a model exported using the Map Editor's "Model Export" context menu is placed on the map as a stamp, it can be used to match the appearance of the terrain.
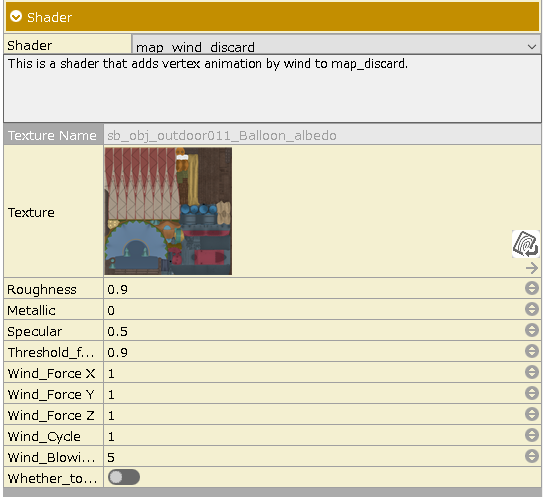
This shader adds vertex animation by wind to map_discard.
When using with grass growing on the ground, turn on "Fix Y=0".
See Creation Tips for more information.
The rendering is performed in a cartoon style with clear shadows.
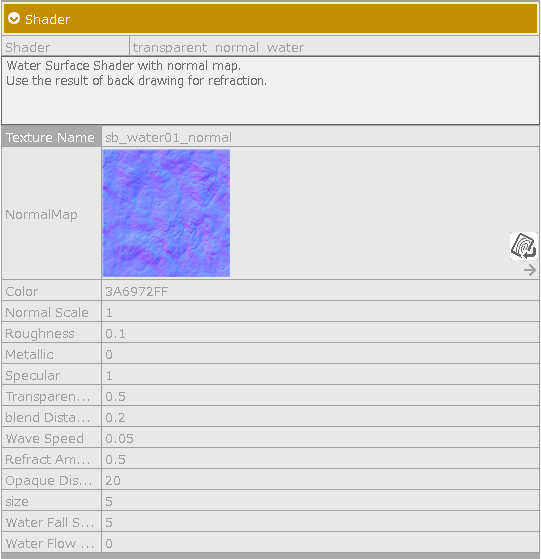
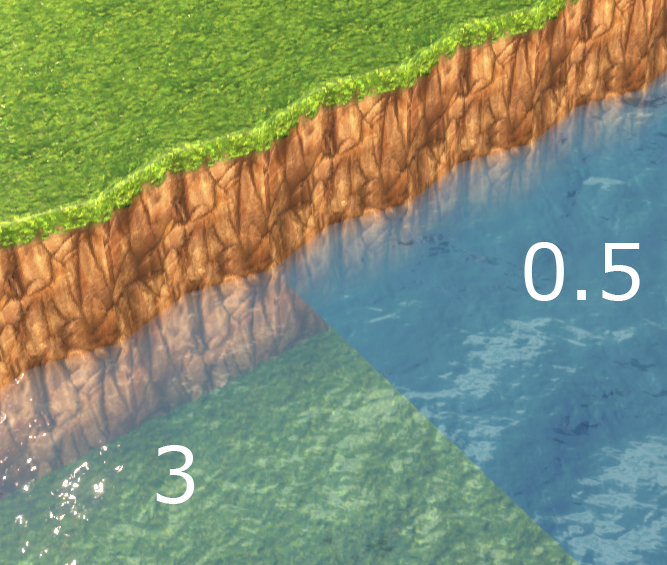
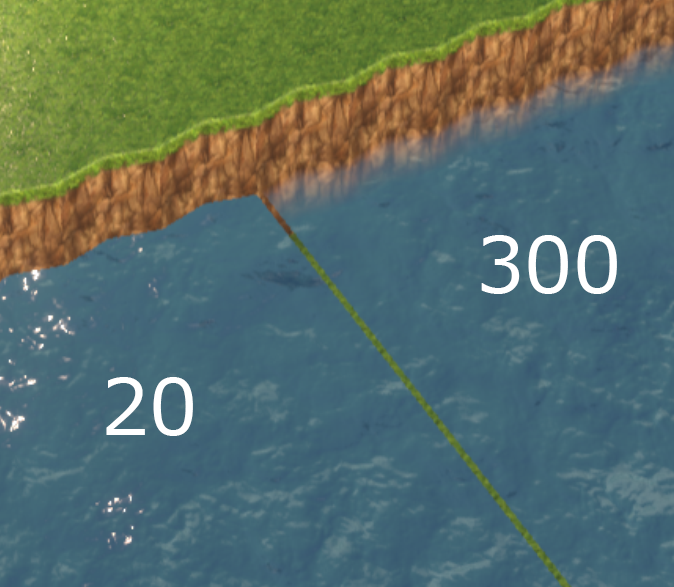
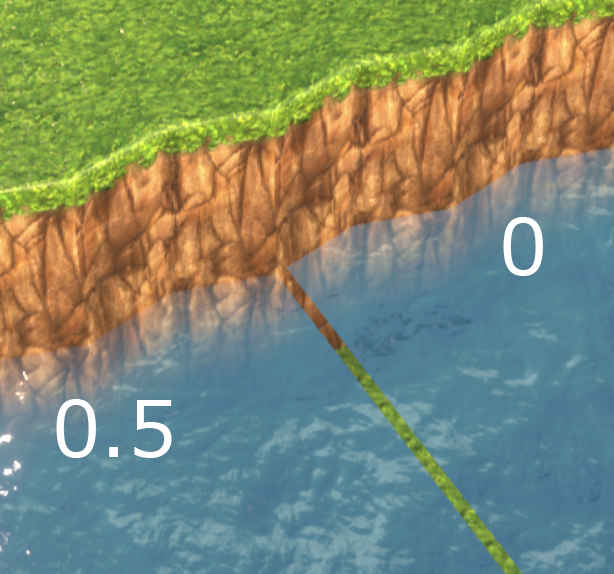
Use a normal map to render the water surface.
The result of the back drawing is used for the refraction effect.
 Use_Screen_Normal.png 29 download
[Information]
Use_Screen_Normal.png 29 download
[Information]
 Shader_decal.png 29 download
[Information]
Shader_decal.png 29 download
[Information]
 map_terrain_EN.png 112 download
[Information]
map_terrain_EN.png 112 download
[Information]
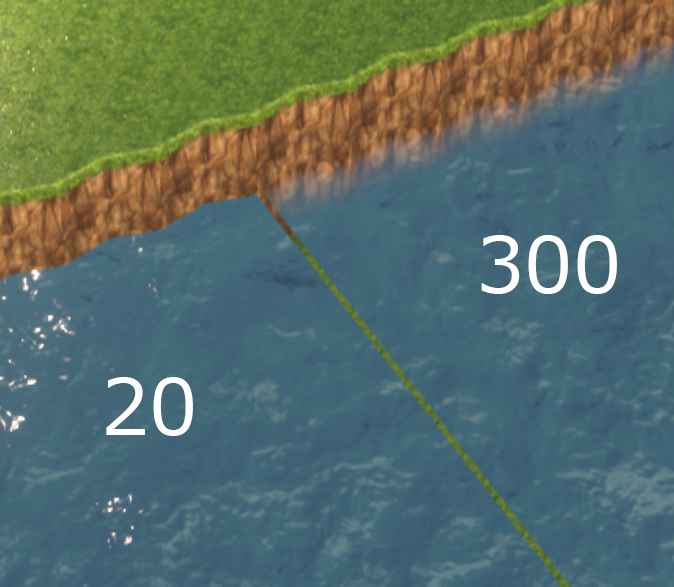 不透明度距離.png 263 download
[Information]
不透明度距離.png 263 download
[Information]
 透明度距離.png 282 download
[Information]
透明度距離.png 282 download
[Information]
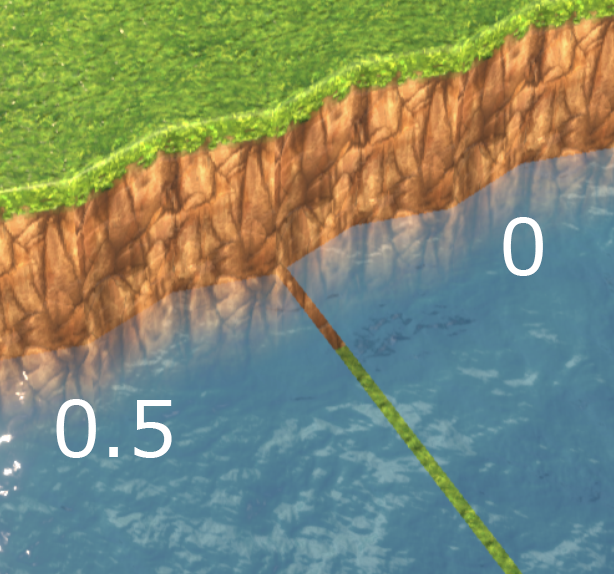 合成距離.png 243 download
[Information]
合成距離.png 243 download
[Information]
 transparent_normal_water.png 256 download
[Information]
transparent_normal_water.png 256 download
[Information]
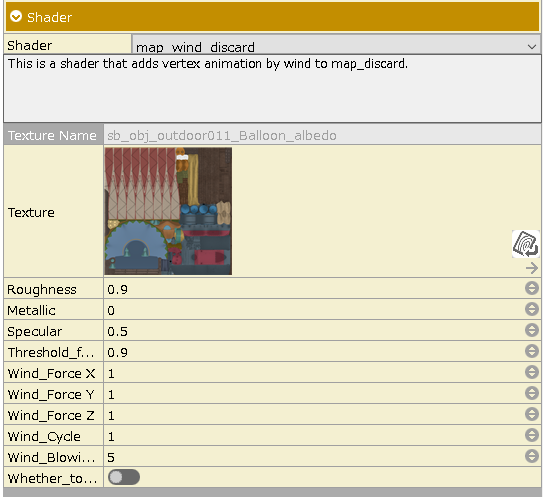 map_wind_discard.png 251 download
[Information]
map_wind_discard.png 251 download
[Information]
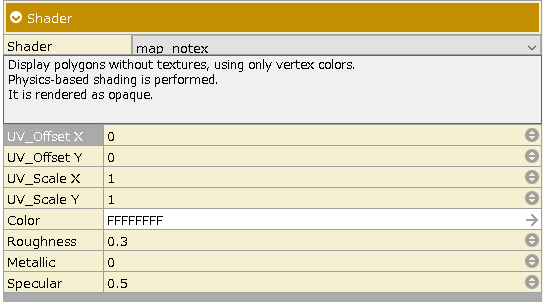 map_notex.png 281 download
[Information]
map_notex.png 281 download
[Information]
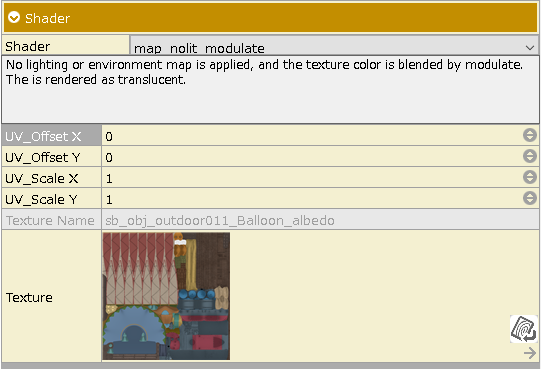 map_nolit_modulate.png 255 download
[Information]
map_nolit_modulate.png 255 download
[Information]
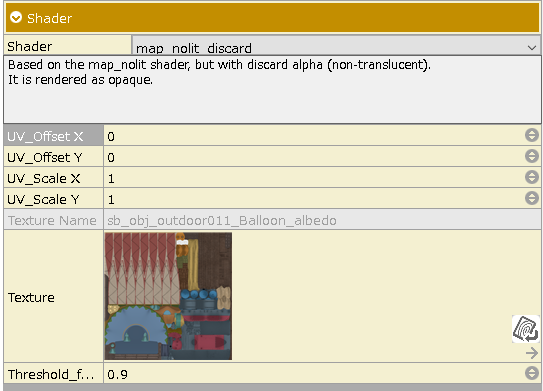 map_nolit_discard.png 264 download
[Information]
map_nolit_discard.png 264 download
[Information]
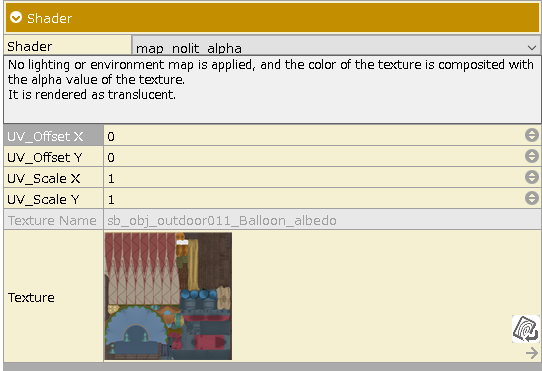 map_nolit_alpha.png 261 download
[Information]
map_nolit_alpha.png 261 download
[Information]
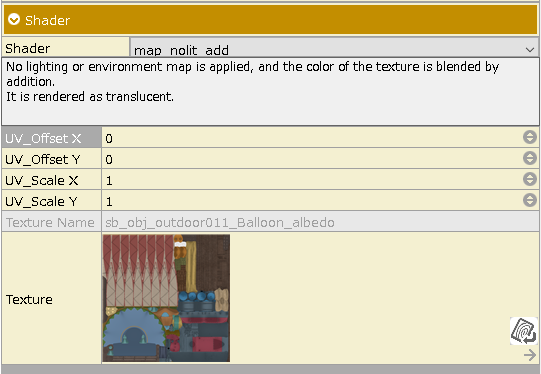 map_nolit_add.png 268 download
[Information]
map_nolit_add.png 268 download
[Information]
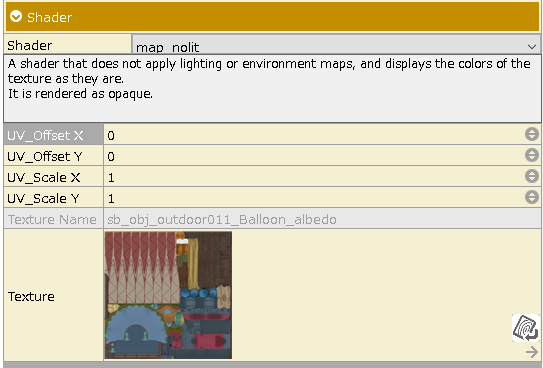 map_nolit.png 259 download
[Information]
map_nolit.png 259 download
[Information]
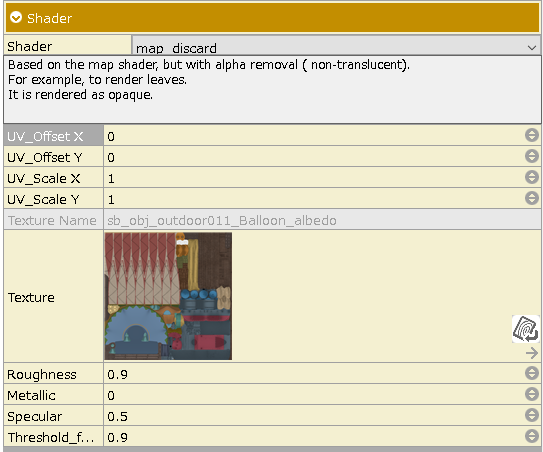 map_discard.png 267 download
[Information]
map_discard.png 267 download
[Information]
 map.png 259 download
[Information]
map.png 259 download
[Information]
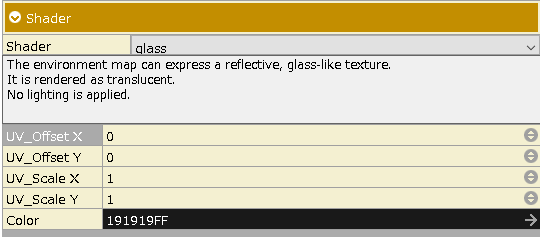 glass.png 264 download
[Information]
glass.png 264 download
[Information]
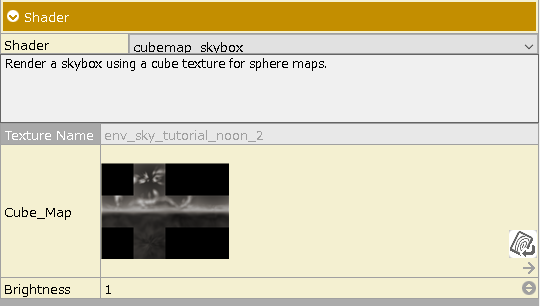 cubemap_skybox.png 262 download
[Information]
cubemap_skybox.png 262 download
[Information]
 character_create_skin.png 255 download
[Information]
character_create_skin.png 255 download
[Information]
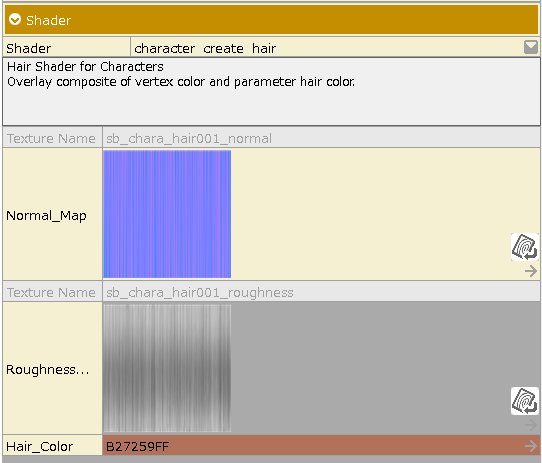 character_create_hair.png 268 download
[Information]
character_create_hair.png 268 download
[Information]
 a_n_wind_discard.png 276 download
[Information]
a_n_wind_discard.png 276 download
[Information]
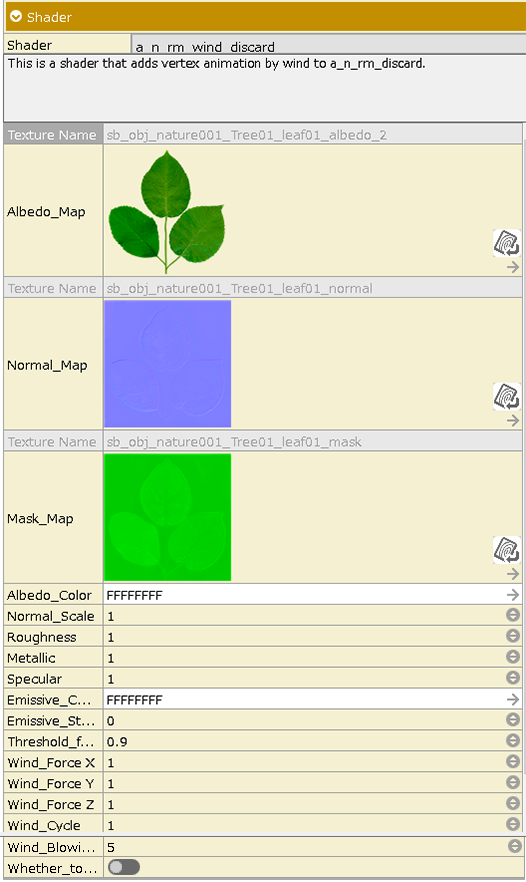 a_n_rm_wind_discard.png 252 download
[Information]
a_n_rm_wind_discard.png 252 download
[Information]
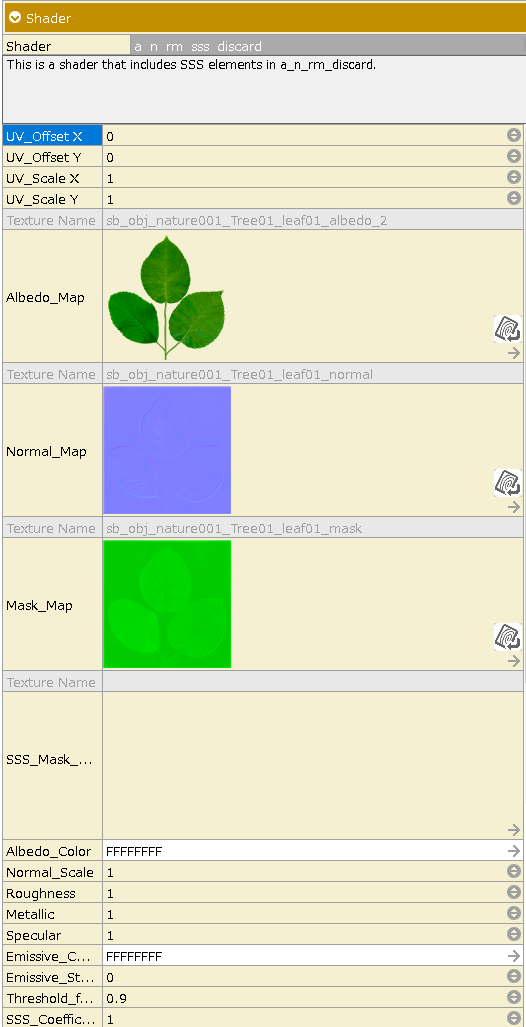 a_n_rm_sss_discard.png 265 download
[Information]
a_n_rm_sss_discard.png 265 download
[Information]
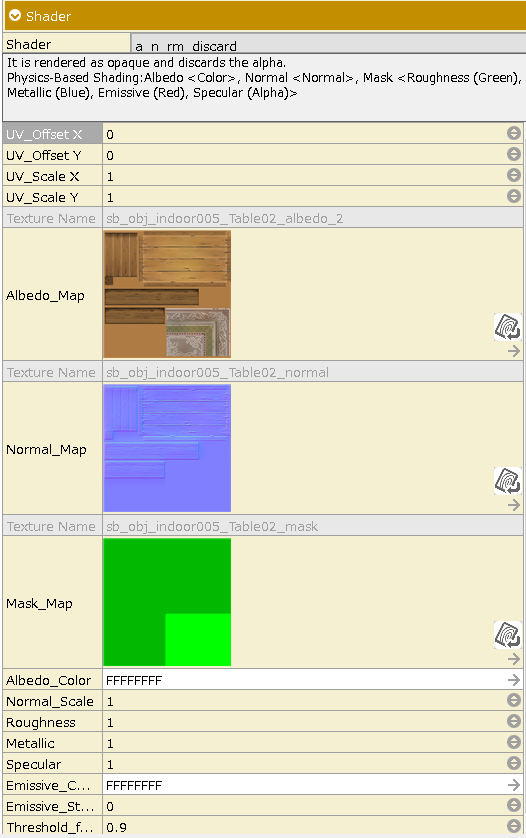 a_n_rm_discard.png 268 download
[Information]
a_n_rm_discard.png 268 download
[Information]
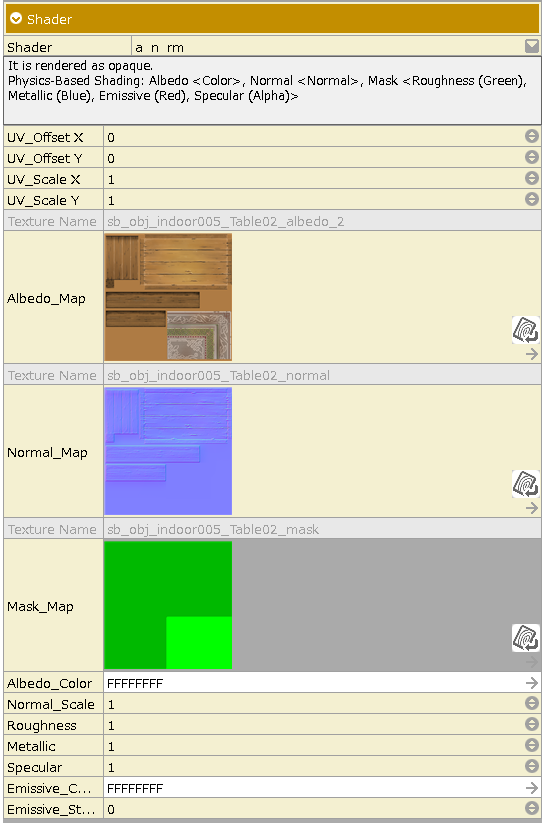 a_n_rm.png 271 download
[Information]
a_n_rm.png 271 download
[Information]
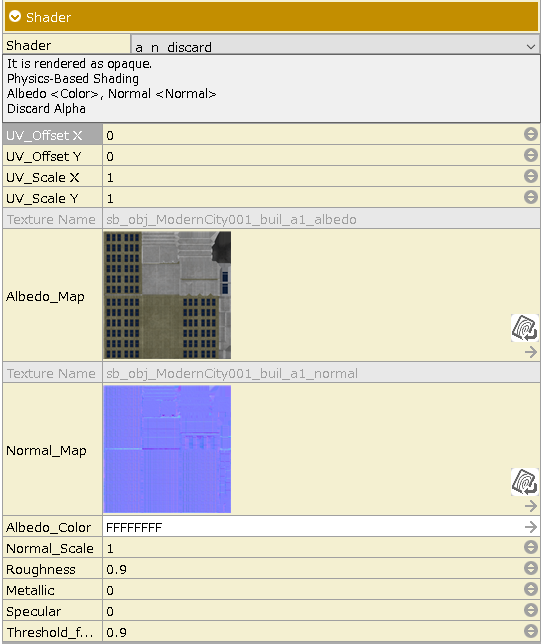 a_n_discard.png 260 download
[Information]
a_n_discard.png 260 download
[Information]
 a_n.png 274 download
[Information]
a_n.png 274 download
[Information]
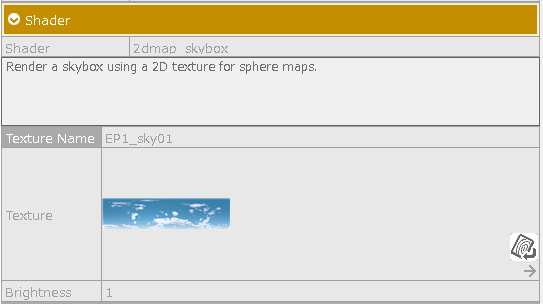 2dmap_skybox.png 258 download
[Information]
2dmap_skybox.png 258 download
[Information]


